
As I mentioned previously, over the coming days and weeks you’ll see the occasional post from a fellow reader who has applied to write for OMAAT on an ongoing basis. It’s possible that posts will still be in the publication queue after we’ve announced our decision, so we’ll be publishing these anonymously. We hope you enjoy the different perspectives!
While this wonderful community is all about air travel to a far away land, there’s something to be said for trying to maximize one’s strategy on trying to get around once they’ve gotten there. One of the easiest places to get around in, and my absolute favorite country to visit, is Japan —especially when traveling by rail and using a Japan Rail Pass.

After getting out of college and entering the real world, I’ve gone on numerous vacations to Japan. And in doing so, I’ve learned a lot about the ins and outs of traveling by train and getting to explore both big cities and quiet villages. With that in mind I’m really excited to have this opportunity to share with you a lot of tips to exploring Japan. Let’s get down to business.

Basic Information on the Japan Rail Pass
The first thing to note is that “Japan Rail” is the name of a specific group of transportation companies in Japan, not the name of a national rail line or scheme. Japan Rail (JR) operates an assortment of trains and busses, both within and between various Japanese cities. So when purchasing a JR pass, you’re buying transportation on JR-operated routes, and won’t be able to use these passes on lines managed by other companies, or on the Tokyo metro.
But the JR route-network is incredibly extensive, and can easily cover a broad range of excursions throughout Japan. There are many flavors and varieties but when it comes to getting the BIGGEST bang for your buck, the most cost-effective version is the nationwide pass.
The Japan Rail pass is sold as an exchange voucher by selected travel agencies outside of Japan in 7, 14, and 21 day variants and either for ordinary (coach) and green (business) classes. These vouchers are then later exchanged for an actual rail pass at certain stations (listed in the pamphlet) in Japan.
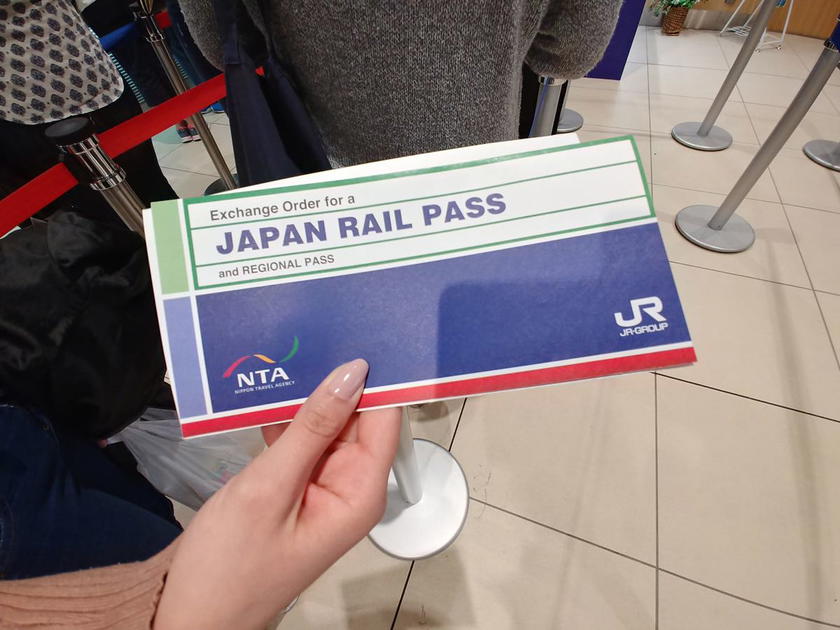
The agencies convert the prices from Japanese Yen to their respective sales areas so each travel agency will vary in how much they charge for a rail pass . Below is a chart of averages amongst the three biggest pass sellers in the United States.

Depending on the agency, they may also pass on shipping charges so keep an eye out for free shipping promotions if the price is right! Children’s passes are half the cost of their parental unit equivalents.
Passes technically can be bought in Japan but they’re more expensive and Japan Railways (JR) isn’t good about taking credit cards when buying any of their tickets so, it’s best to buy your exchange voucher from an authorized travel agency ahead of time.
In addition to this, other important rules include:
- Your exchange voucher must be exchanged for a rail pass within 3 months of purchase
- You must enter the country under a short term tourist visa (sorry foreign exchange students)
- You don’t need to use it the day you exchange it, but you do have to declare what day you will start using it
- Seat reservations are included with the rail pass, and you can make reservations as soon as you have the pass in hand
- Each day of the pass counts as a calendar day, not a 24 hour period; however, if you’re through the fare gates on the 7th day before midnight, JR will allow you to continue your journey to your final destination so long as you don’t leave the fare paid zone: more on that in a bit
The pass works on most JR trains, JR local (not highway/long distance) buses, the JR Ferry to Miyajima, and a smattering of other private rail lines that are listed in your pass when you receive it.
There are a list of exclusions where a surcharge is needed as trains run on tracks not owned by JR or the Rail Pass will not be accepted at all, like the Nozomi and Mizuho class of bullet trains that run between Tokyo and Kagoshima, but this just means taking a slightly more leisurely train. Well, as leisurely as blasting through the Japanese countryside at 186mph can be.
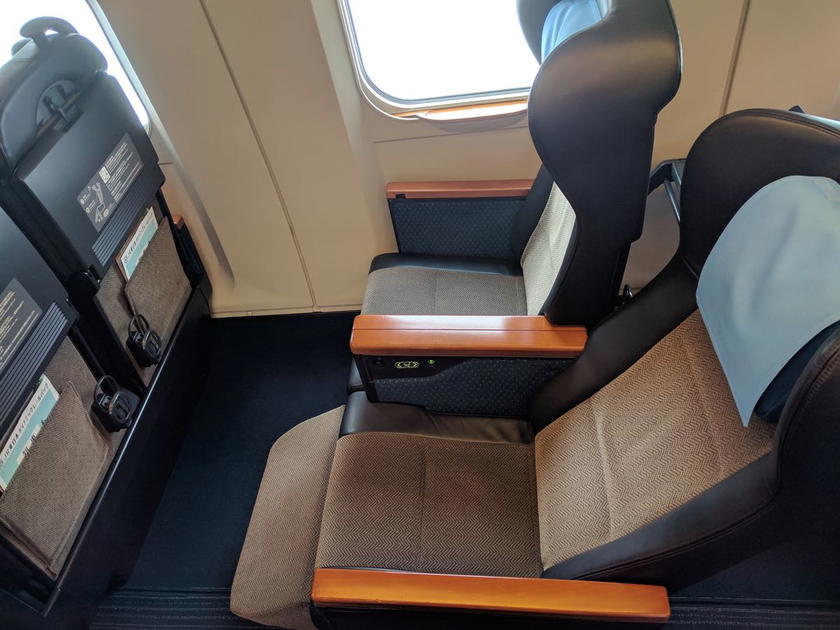
Planning with a JR Pass
Now, the 7 day pass will pay off itself with just a round trip from Narita Airport to Osaka, and while these cities are amazing in their own right, there is so much more to explore in this country!
With a rail pass, it’s very easy to get to far flung parts of the country that many folks don’t know about and in doing so: find the true heart and soul of Japan. With that in mind, here are some sample itineraries of places I’ve been to before and how you can maximize your pass usage.
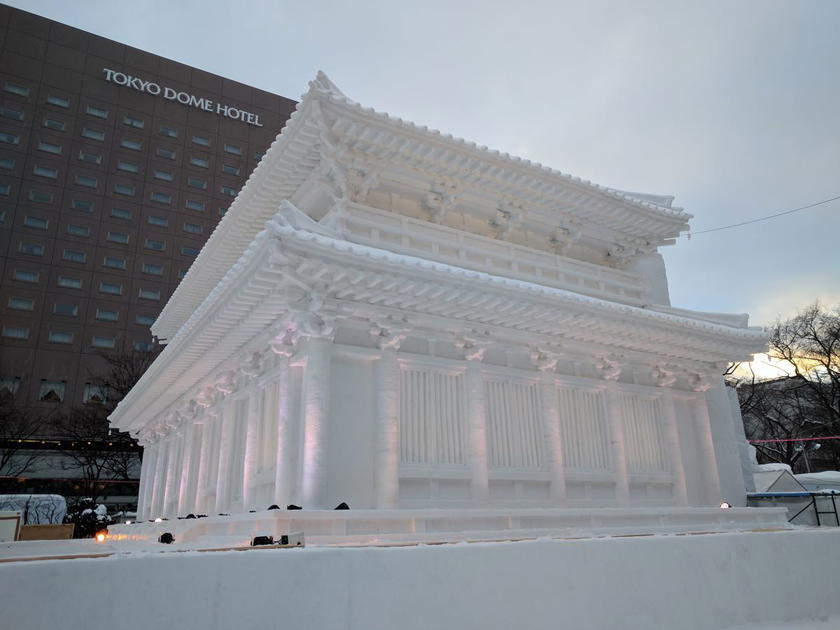
Sample Itinerary: Traveling to the Sapporo Snow Festival.

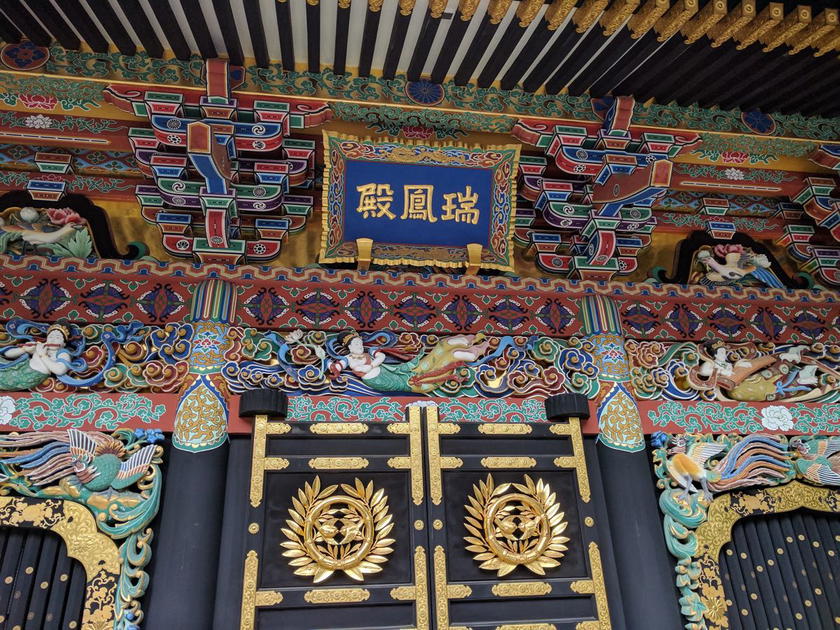
With this itinerary, you can check out sights such as the Mausoleum of Date Masamune, former feudal warlord from the Sendai area on your first days in Japan.
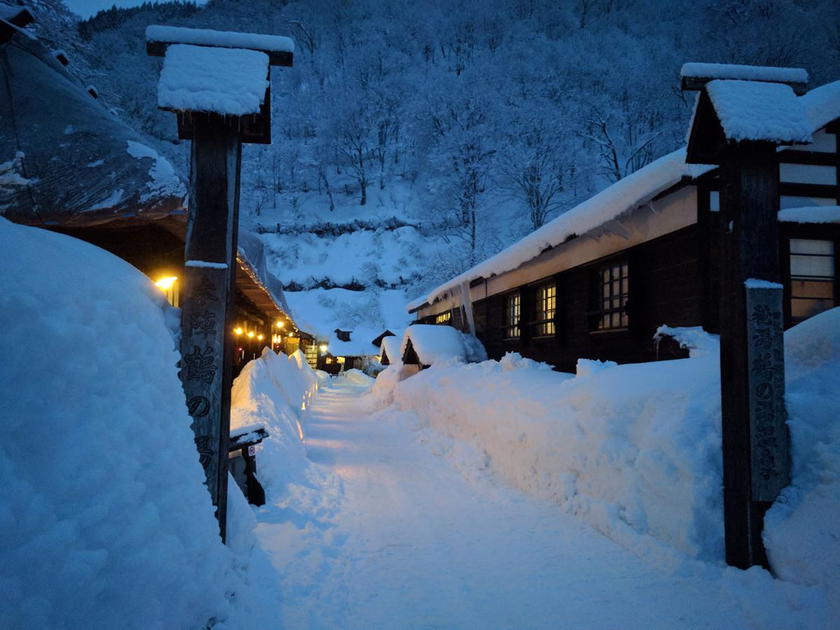
And then, take off on a bullet train afterwards for a night’s stay at Tsurunoyu Onsen, a hot springs resort deep in the mountains dating back to the 1600s. One thing to note, for this onsen, you’ll need to take 2 buses to get here which are not covered by the Japan Rail Pass. But, for this scenery: it’s totally worth it!
And once you’ve gone through the world’s second longest undersea tunnel, you can make Sapporo or a nearby city as a base while you explore all the winter festival action in Sapporo, Otaru, and Asahikawa! Plus in doing so, you might be able to redeem a string of award nights or (in my case) take advantage of the 4th night free with the Citi Prestige.
Sample Itinerary: Going south, and getting 8 days of travel for the price of 7
While the above itinerary was a lot of fun to transform into reality, if you’re vehemently anti-snow no matter how “cool” it looks, then you can just “let it go” (♫let it go~♫) and head south instead.
And there’s a very interesting way to hack the Japan Rail Pass and add one more day of travel for free.

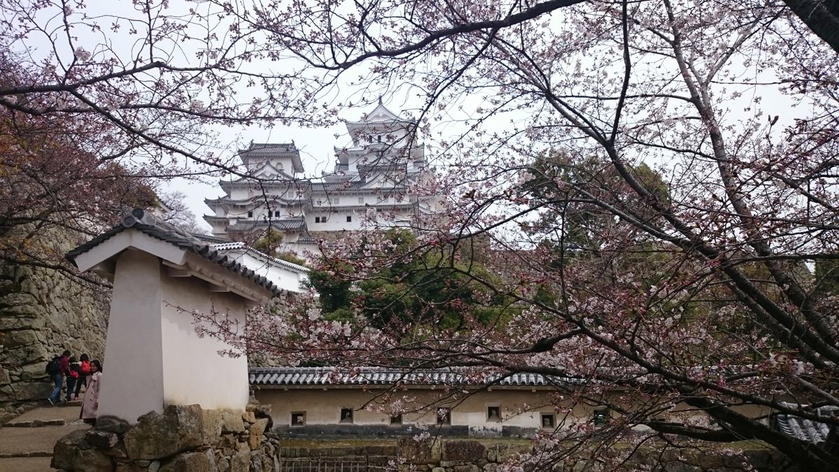
This particular itinerary allows you to see a whole lot of ancient castles, temples, and cities, while going around the central and southern parts of Japan.
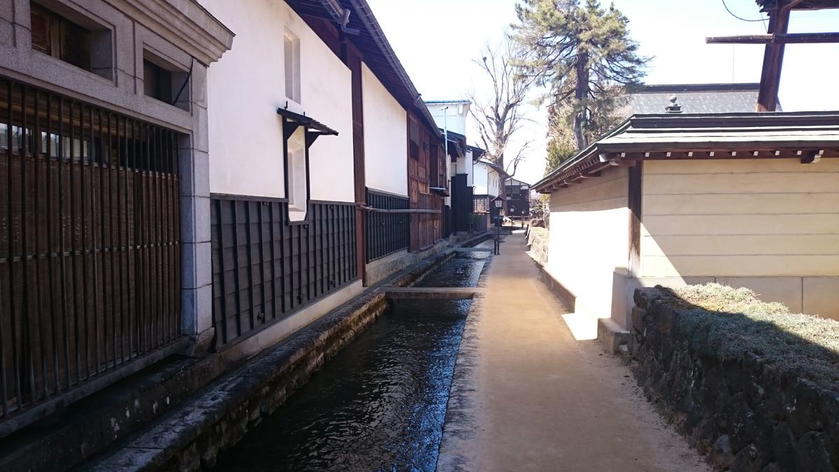
As I mentioned above, if you happen to start a train journey before midnight on the 7th day of your pass, JR will allow you to complete your journey to your final destination provided you don’t leave the ticketed area. With that in mind, when I was running through this trip I took advantage of this rule and rode on JR’s last remaining night train: the Sunrise Seto/Izumo.
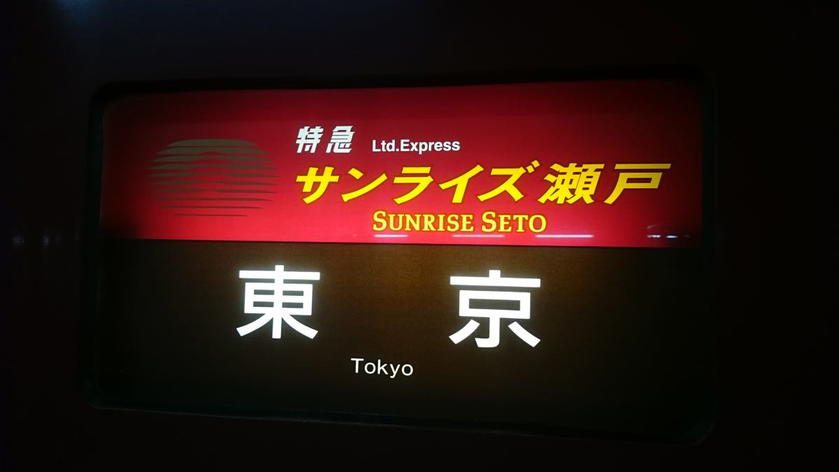
The easiest place to get on is on Okayama where the Sunrise Seto and Sunrise Izumo join up. Plus, before you hop on, you can stop by the “Black Crow Castle” before getting ready to say goodbye to Japan.
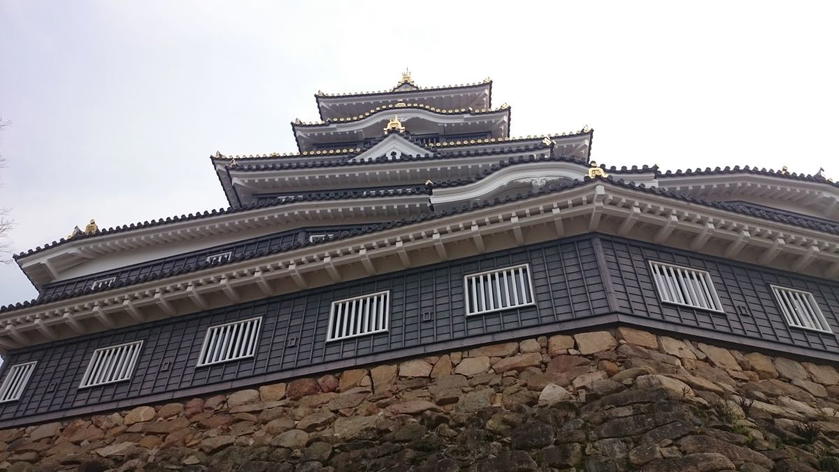
Beyond being the only night train in Japan, this train offers an extremely unique proposition for the truly frugal traveller. These “Nobinobi seats” are completely included in your rail pass, and can be reserved ahead of time.
The downside: the “seats” are a actually a long section of carpet that are placed perpendicular to the direction of travel that you can lie down on. They are… a bit spartan, as you’ll need to bring your own creature comforts like pillows or blankets, but there are electrical outlets, air vents, and a shower/slip n’ slide onboard available for use.
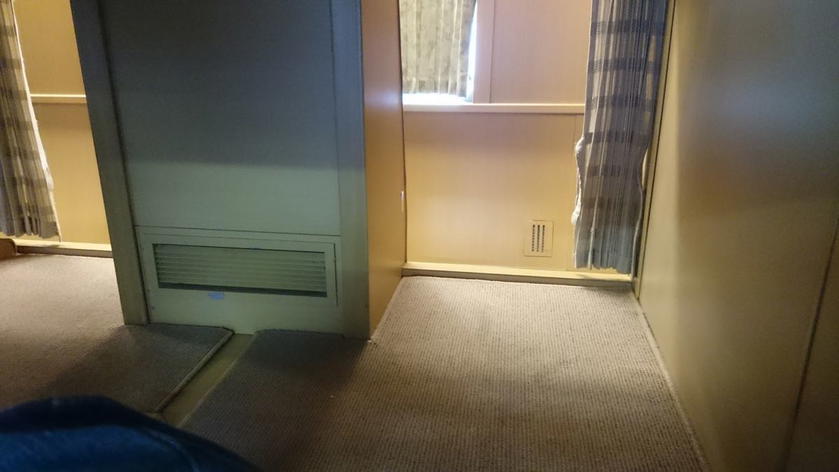
For those who don’t like the thought of “roughing” it, there are regular sleeper cars onboard, but with great comfort comes great responsibility fees (that are unfortunately not covered by the rail pass).
Using this itinerary, if you leave on the Sunrise Izumo/Seto you’ll arrive into Tokyo on the 8th day of your rail pass. And, if you connect to Narita Airport via the Airport Rapid it’ll be covered under your rail pass. Unfortunately, the much nicer Narita Express isn’t covered since it’s a limited express train and the rail pass will no longer cover the surcharges for it by that point. But, seeing as you’re still getting an 8th day for free, that certainly makes up for the slight decrease in speed!
Both of these above itineraries would cost well over $800 out of pocket for just ordinary coach seats, but again, using points from a fixed-value currency is the way to go here.
Other important tips
It’s best to reserve your seats as far in advance as possible, especially if you’re planning on using the night train in either direction as those seats can be popular.
To do so, first plan out what trains you plan on catching at hyperdia.com. Following that, find a reservations office and use the reservation forms they have available to make reserving a seat faster.
I’ve gone to Japan many times where I’ll see lots of folks struggling to communicate where they want to go while holding a rail pass in hand. Preplanning and writing out what you’re trying to do means less time in a station, and more time eating sushi.
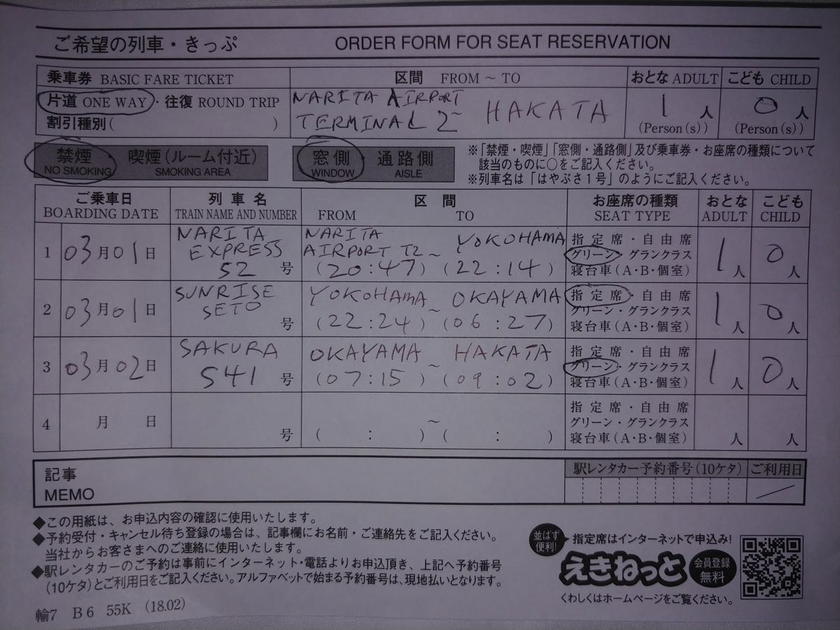
One big thing to note is that you can actually reserve seats into the future without having your Japan Rail Pass active on the day that you’re reserving them.
For example: if you arrived in Japan on March 1st, exchanged your voucher for a pass that same day, BUT have the pass scheduled to be active on March 7th, you’re allowed to make reservations on March 1st for trains on the 7th (through the end of your pass) even though you won’t be using your pass to travel just yet.
So if you’re really excited for the stunning scenery from that window seat (I know I would be), then absolutely take advantage of reserving early.
Also, courtesy of the above rule, you could spend a few days in Tokyo, Osaka, or any other point of entry city with an entirely different city pass and then explore the rest of Japan on your Japan Rail Pass.
Bottom line
It goes without saying that one of my absolute favorite places to visit is Japan, and it’s hard for me to not share some of the many beautiful places that I have visited.
I hope that after reading this, you might be inspired to plan a trip to some of the other parts of Japan that have less of the bright lights, and more of the heart and soul that make up this incredible land. Happy travels!
As a reminder, this post was guest-written by a fellow reader. Feedback is appreciated, but please keep the comments kind and constructive.


Membership is free and takes no more information than commenting as a guest. Earn status points for good contributions, and see fewer ads as your status grows.